Evidence and Application of Practical Skills to Produce a Quality Product
Throughout the course of the project, I was required to apply skills including:
- Lua scripting
- Effective use of version control
- Map creation
- Interface design & implementation
Satisfying these required a certain degree of applied mathematics. This section will discuss the requirements for each of these skills and examples of their application. A step-by-step procedure is also given.
Discussion of Practical Skills Applied
Lua Scripting
The ability to script the Source engine to create the gamemode was the critical practical skill required for the design to be realised. This involves the use of a text editor, Notepad++, to create script files to be read and executed by the game engine. This scripting involves knowing what means one will use to achieve the ends of the code. For this reason, an Application Programming Interface (API) reference is a necessity, so that the programmer can know what is made available from the game engine and the library of lua code written by the game developer, to assist them in implementing their goals.
The process of scripting is an intermediate stage of the development cycle. Here is the process involved in scripting:

- Before the scripting implementation of a feature, it needs to be specified in detail.
- Once the specification is complete, calculations should be done on the numbers involved in implementing the feature.
- The lua implementation will almost always rely on knowing how to script the game engine to meet an end, so an API reference is essential to identify the functions, enumerations etc required for the feature. The values used in these functions and enumerations can come from the previous step.
- The required code, or a part thereof for large features, is written and then needs to be tested. This forms an iterative process where the script is tested then modified until it is bug-free.
- After this, the feature can be fleshed out or left as is.
Version Control
To show the entire process of writing source code would be exhaustive and outside the scope of the folio. But the entire history of the source code can be seen because of the use of a version control system. As I wrote the gamemode, I incrementally committed changes to the git history of the project. This can then be viewed with the commands git log and git diff. The first command provides a log of all the commits made that reach the current point in history of the project and their associated messages; it can also be used to view a certain number of commits back. The second command is used to compare the differences between two commits.
$ git log -n2
commit 86bb7a2d225d73dc379fb8f8c71bea11ae911287
Author: Foo Bar <fb@hvr.com>
Date:   Wed May 20 17:24:40 2015 +1000

    Fix HUD code and reduce boilerplate

commit 0ef2a51d6f72d299bfd6848450c6f5271b79cb9b
Author: Foo Bar <fb@hvr.com>
Date:   Mon May 18 11:44:34 2015 +1000

    Commit non-code files to the repository
As I go through the process of scripting, testing, editing and testing again, I run the command git commit -m "message" incrementally after important changes, replacing "message" with a message that describes the changes made. This not only allows the history to be tracked, it also allows bad changes to be reverted to prior commits. Furthermore, if I find a bug in a later version I can track it back to an earlier version with git bisect.
Another important feature of using version control is that I am able to branch my development with git branch. This command separates any changes I make from the master branch, until such time as I discard the changes by deleting the branch, or merge them back into the main version. This is important especially when introducing a new feature, because any changes made will not affect the main version of the repository. Thus, I can also continue to make smaller changes to the main branch before I complete and merge the feature branch back in.
Map Creation
This section needs something here once you've done some mapping.
Interface Design and Implementation
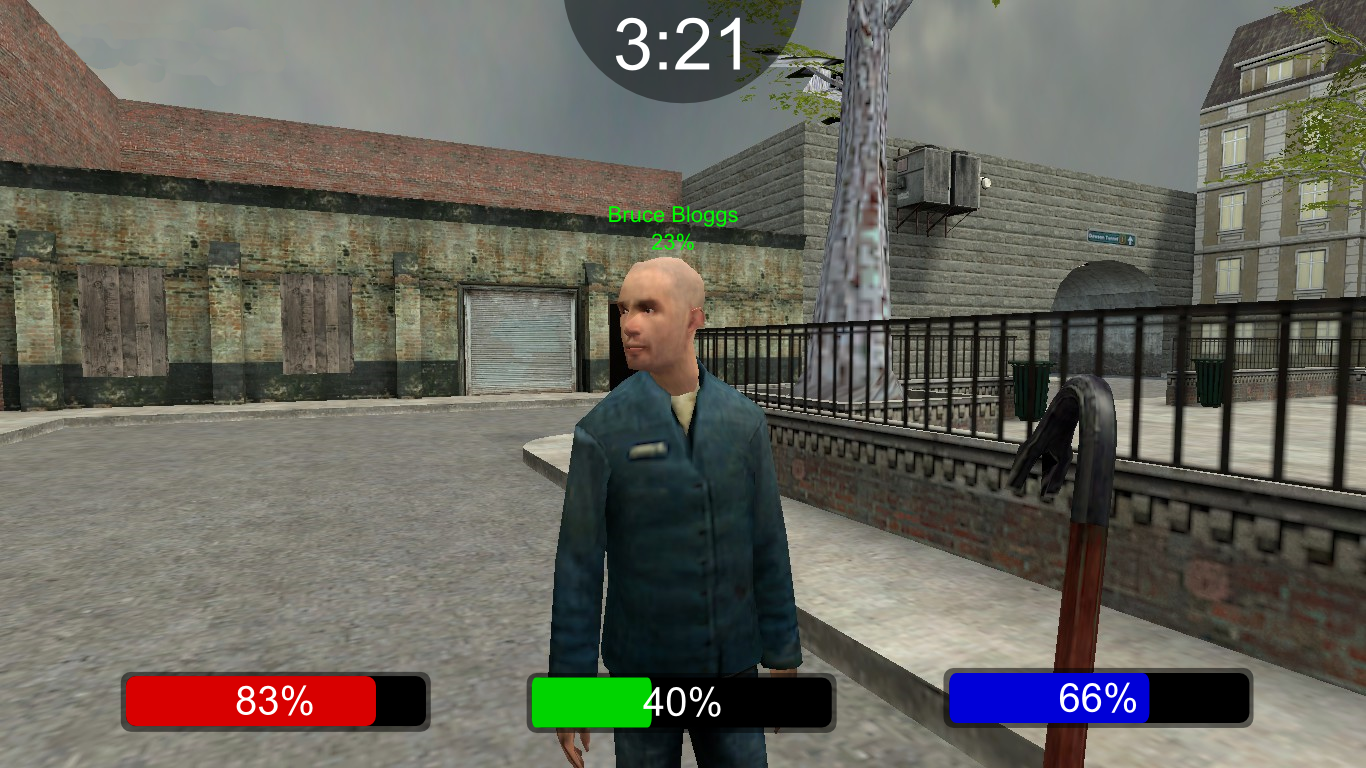
Creating the interface (HUD) for Humans versus Robots was done in three stages. First, a graphical sketch was created in Inkscape of what the interface would look like. The sketch was by nature a sketch and so not completely accurate. The interface was to be drawn as a series of three boxes, one representing each statistic of the player. Here is the sketch:

The second stage of the HUD creation was implementing an interface similar to the sketch. But before this could occur, the interface had to be described mathematically. This was most important in terms of the x-axis. Here is the working that went into describing the interface mathematically:
Width = 1
boxWidth = 0.25
3*boxWidth = 0.75
Width - 3*boxWidth = 0.25 = totalSpaceWidth
totalSpaceWidth/4 = boxGap = 1/16 = 0.0625
Health_X = boxGap = 1/16 = 0.0625
Twop_X   = 2*boxGap + boxWidth = 1/8 + 1/4 = 3/8 = 0.375
Threep_X = 3*boxGap + 2*boxWidth = 3/16 + 1/2 = 11/16 = 0.6875
In addition, the y-coordinate of each box was set a constant. The screen was described as being 1 unit wide since this allowed all of the coordinates to be expressed as a percentile value. This was important so that the interface, when implemented, would scale across resolutions.
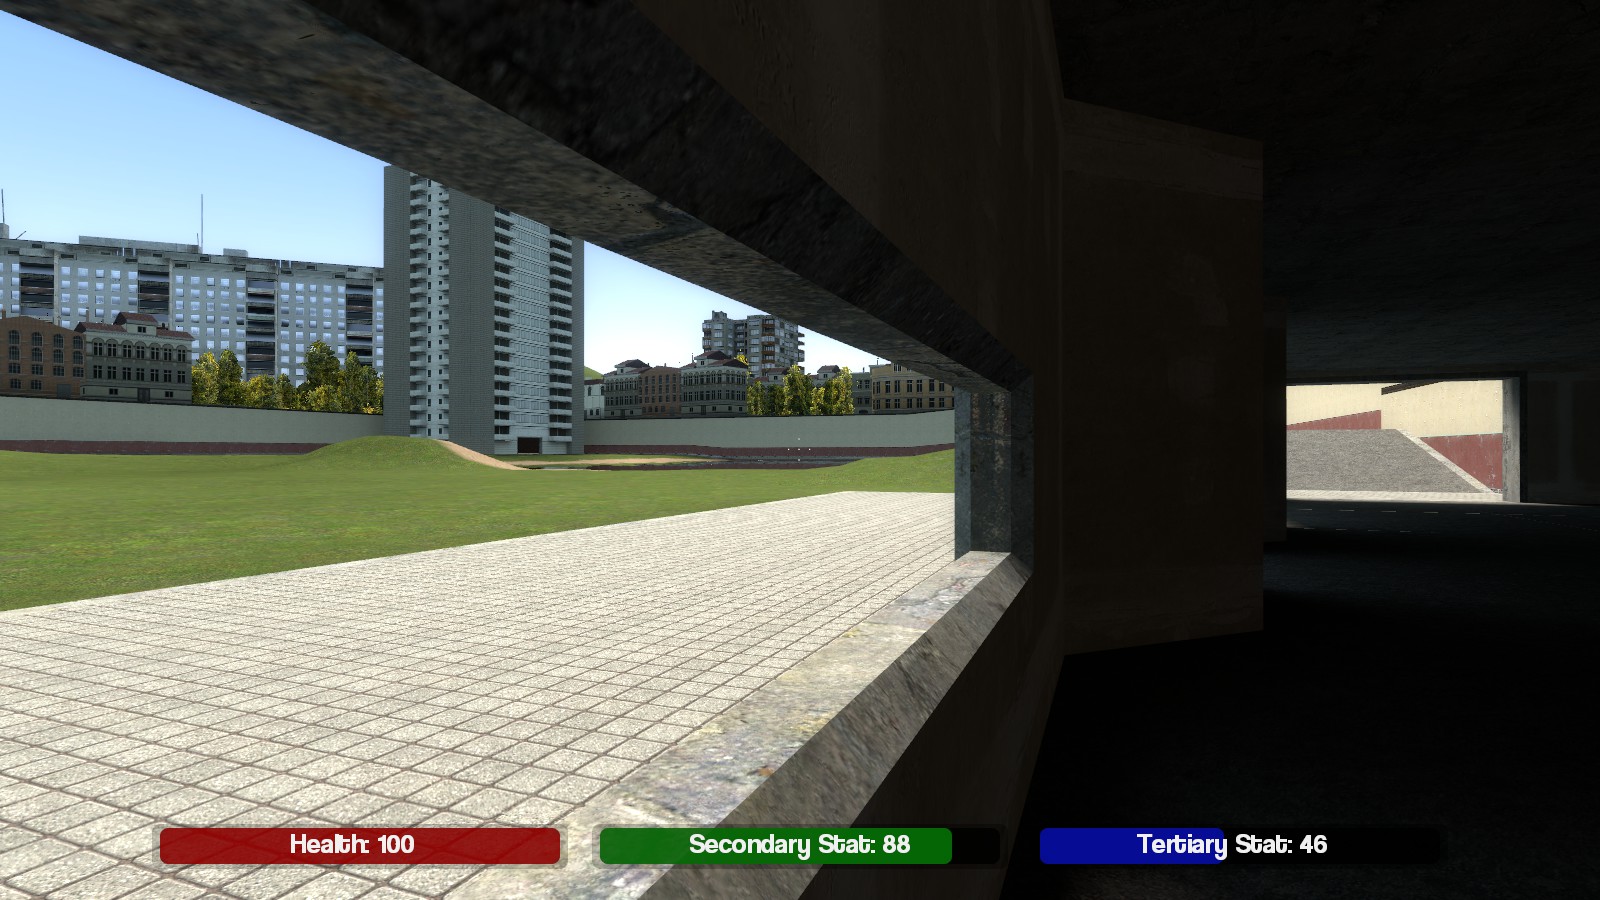
The last stage was to implement the interface in lua and test it in game. This was not, however, a straightforward process of simply implementing once and assuming all was good. Testing had to be done to ensure that the code was achieving its correct purpose. To this end, the file was edited, save, then tested continuously until the interface was found to be working correctly. This screenshot represents an early version of the interface, after thoroughly debugging the first implementation:
Note how the secondary and tertiary stats have constant values in this version, and that the round timer is absent as it has yet to be implemented.


Step-by-Step Procedure
The exact step-by-step procedure for making the gamemode was recorded in the git log of the project.
- Follow the steps in Experiment Four, Part Three from §Research and Experimentations